Kitchen photographs often begin with the vein across a countertop. At home, water beside the sink, cooking marks by the hob, grout under evening light, and the island seen from the dining table share the same view. A finish that feels quiet in one photograph can read very differently once daily movement and light arrive.
Start by marking three positions: the surface you see longest from the sink, the plane you notice first from the dining table, and the area your hand reaches after cooking. Give those positions different roles and the countertop, wall, and floor begin to read as one kitchen scene.
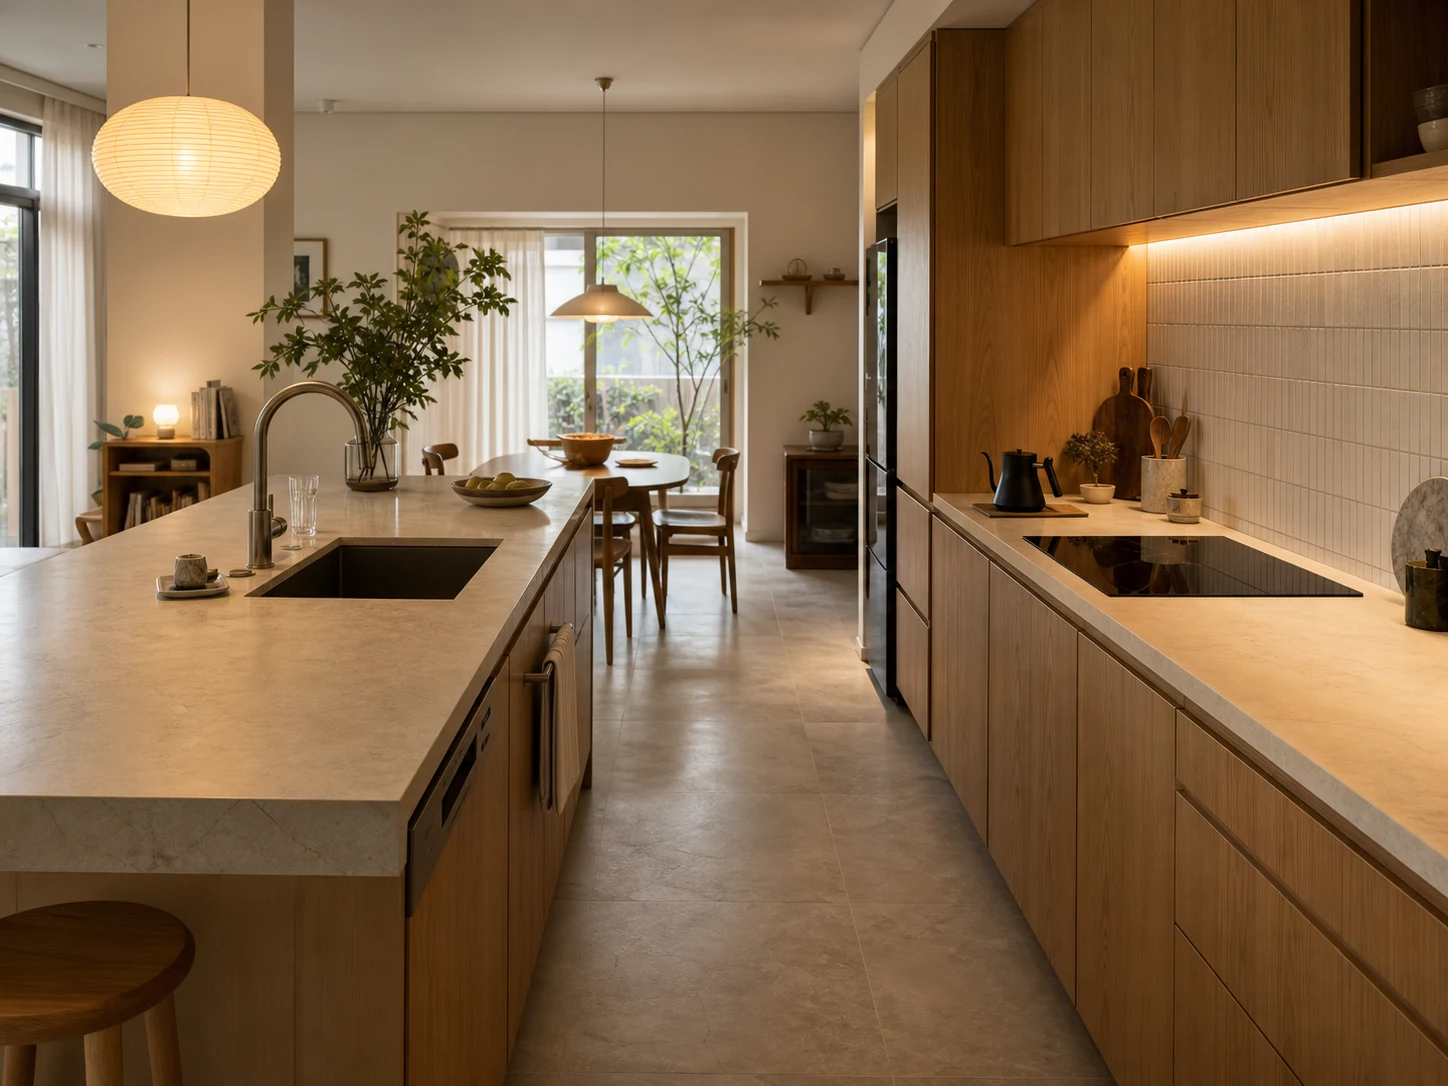
Move the photograph into the working route
Morning light travels across the counter. Water collects around the sink at midday. In the evening, grout and fingerprints become clearer under artificial light. When people gather, the island and dining table form one view. The leading surface changes with the time of day and the place where you stand.
Broad countertop veining, repeated wall tile, busy floor joints, and reflective hardware can all ask for attention at once. Let one plane carry the scene and let the other planes leave visual room. The kitchen keeps its focus even when tools and dishes are on the counter.
Start care questions at the working position
Before choosing a countertop, picture when you wipe water, where hot cookware lands, which cleaners you use often, and which marks catch your eye on a low-sheen surface. The same colour and grain can look different beside the sink, at the end of an island, and from the dining side.
Caesarstone’s care guidance for its quartz and mineral surfaces separates care expectations and visible daily marks for some honed, concrete, and rough finishes from its polished finish. Dekton’s countertop use-and-care guidance sets out product-specific conditions around heat, edges, cleaning, and tool use. Read the chosen product guidance beside the way you cook and clean.
Bring four questions to a consultation. First, ask for the care sequence in areas that meet water and oil often. Second, ask which everyday marks show on the selected finish. Third, check the conditions around the edge, sink, and hob. Fourth, ask how finish and care change when the same material moves from the counter to the wall.
The kitchen finish role matrix
Use the four cells below to read visual strength beside direct contact with daily marks. Each cell names a real location and the check that belongs there.
The kitchen finish role matrix
Read visual strength beside direct contact with daily marks to see where and how each plane works in the kitchen.
At the main counter beside the sink and faucet zone, check lower sheen, fewer seams, and the direction of water marks.
At a waterfall island or tile workwall behind the hob, check grain scale, water and oil marks, and the grout-cleaning sequence.
The floor before base cabinets and a secondary wall organise joint direction, reflection, and the room around storage and dining chairs.
A tile wall first seen from dining, an island face, or a floor transition carries colour area and grout rhythm.
A quiet worktop for daily use
Long Cream Worktop Kitchen and Quiet Taupe Galley Kitchen show sink, hob, and prep space along one continuous route. Lower sheen and fewer seams let the worktop carry everyday use while the wall, storage, and light support the route. Look at reflection around the faucet and the length of the counter under evening light.
A quiet worktop joining sink and hob
Compare how lower sheen and fewer seams read along an everyday working route.
A countertop that leads from the dining side
Pale Waterfall Island Kitchen and Smoky Brown Island Kitchen show an expressive countertop shared with sink and hob. Both counters meet the dining view while the wall and floor stay lower in contrast. Start with the places where water remains, edges meet hands, and cooking tools land.
When the island countertop leads
See how wall and floor density support an expressive counter shared with sink and hob.
Where the floor joins kitchen and dining
Continuous Stone-Look Floor Kitchen Dining and Tile-to-Oak-Tone Kitchen Threshold show two ways for the floor to become a long background plane. One scene carries a broad grid to the dining table. The other marks the end of the cooking zone with a material transition. In both, the counter and wall stay calm enough for the floor direction to remain clear.
How the floor joins kitchen and dining
Compare a continuous floor and a material transition that organise the route through the room.
Tile that carries the room’s mood
Sage Tile Workwall Kitchen and Terracotta Tile Wall Kitchen show the wall carrying the atmosphere. Tile colour and grout meet the eye from the dining side while the countertop stays broad and calm. Compare tile scale, grout repetition, and the space between cabinets and lighting.
A tile wall read from the dining side
Compare how colour and grout carry the wall while the counter and storage stay calm.
Give counter, wall, and floor one shared scene
When the countertop leads, let the wall pick up one quality from it: its lightness or its finish. As the countertop grain spreads across a larger plane, lower the pattern and grout density on the wall so the eye has a place to settle.
When tile carries the atmosphere, keep the countertop as one broad horizontal plane. Colour variation and grout create rhythm on the wall. The counter gives the hand and eye a stable working surface close by.
When the floor joins kitchen and dining, check the transition along the route people actually take. Walk past the island, pull out a dining chair, and stand at the counter. Those positions show whether joint direction and material change feel natural.
Check grout and sheen three times
View the same sample beside the window in daylight, under ceiling light in the evening, and in front of the sink and hob. Daylight shows the scale of grain and the temperature of colour. Evening light shows reflection and the line of grout. The working position shows where water and fingerprints remain.
Grout makes the tile scale visible. Countertop grain makes the length of a horizontal plane visible. Give those rhythms different strengths and the kitchen keeps a measured pace. Mark where each seam starts and ends when you review samples.
What to save with a kitchen reference
Save where the counter meets the wall, where the tile stops, whether the floor continues to dining, and how the island works between prep and meals. Those notes make it easier to translate a saved image into your own plan and lighting.
You can say: “The counter beside the sink is a surface I will clean every day, so I want to see a low-sheen option.” “I want the tile wall seen from the table to carry the atmosphere while the counter stays broad.” “I want to check joint direction and the floor transition along the route from the kitchen to the dining table.”
Kitchen finishes come together when you decide what you will look at for a long time, what you will wipe often, and where the scene should change. The countertop, tile, and floor can then hold their own roles in one room.