A client meeting does not always go well just because the team has prepared enough material. There may be a floor plan, reference images, and a budget range on the table, but each person can still be imagining a different scene. One person is reading dimensions and circulation from the plan. The other is trying to imagine height, openness, light, and daily use inside the space.
That is why the same explanations often repeat during a meeting. "This wall stays," "this area becomes storage," "from here, it will look like this." The problem is not that the explanation is wrong. The problem is that the material does not always pull everyone into the same image.
Most interior meetings start with floor plans and reference photos. A floor plan shows structure and dimensions, but not the full sense of space. A reference photo shows atmosphere, but it does not prove that the same feeling will work in the actual site. When a team moves back and forth between the two, clients can lose track of what is fixed and what is still an assumption.
A 3D model can bridge that gap. The difficulty is time. If a team has to build a model from scratch for every meeting, the workflow quickly becomes too heavy. In practice, many meetings still happen with only plans and photos.
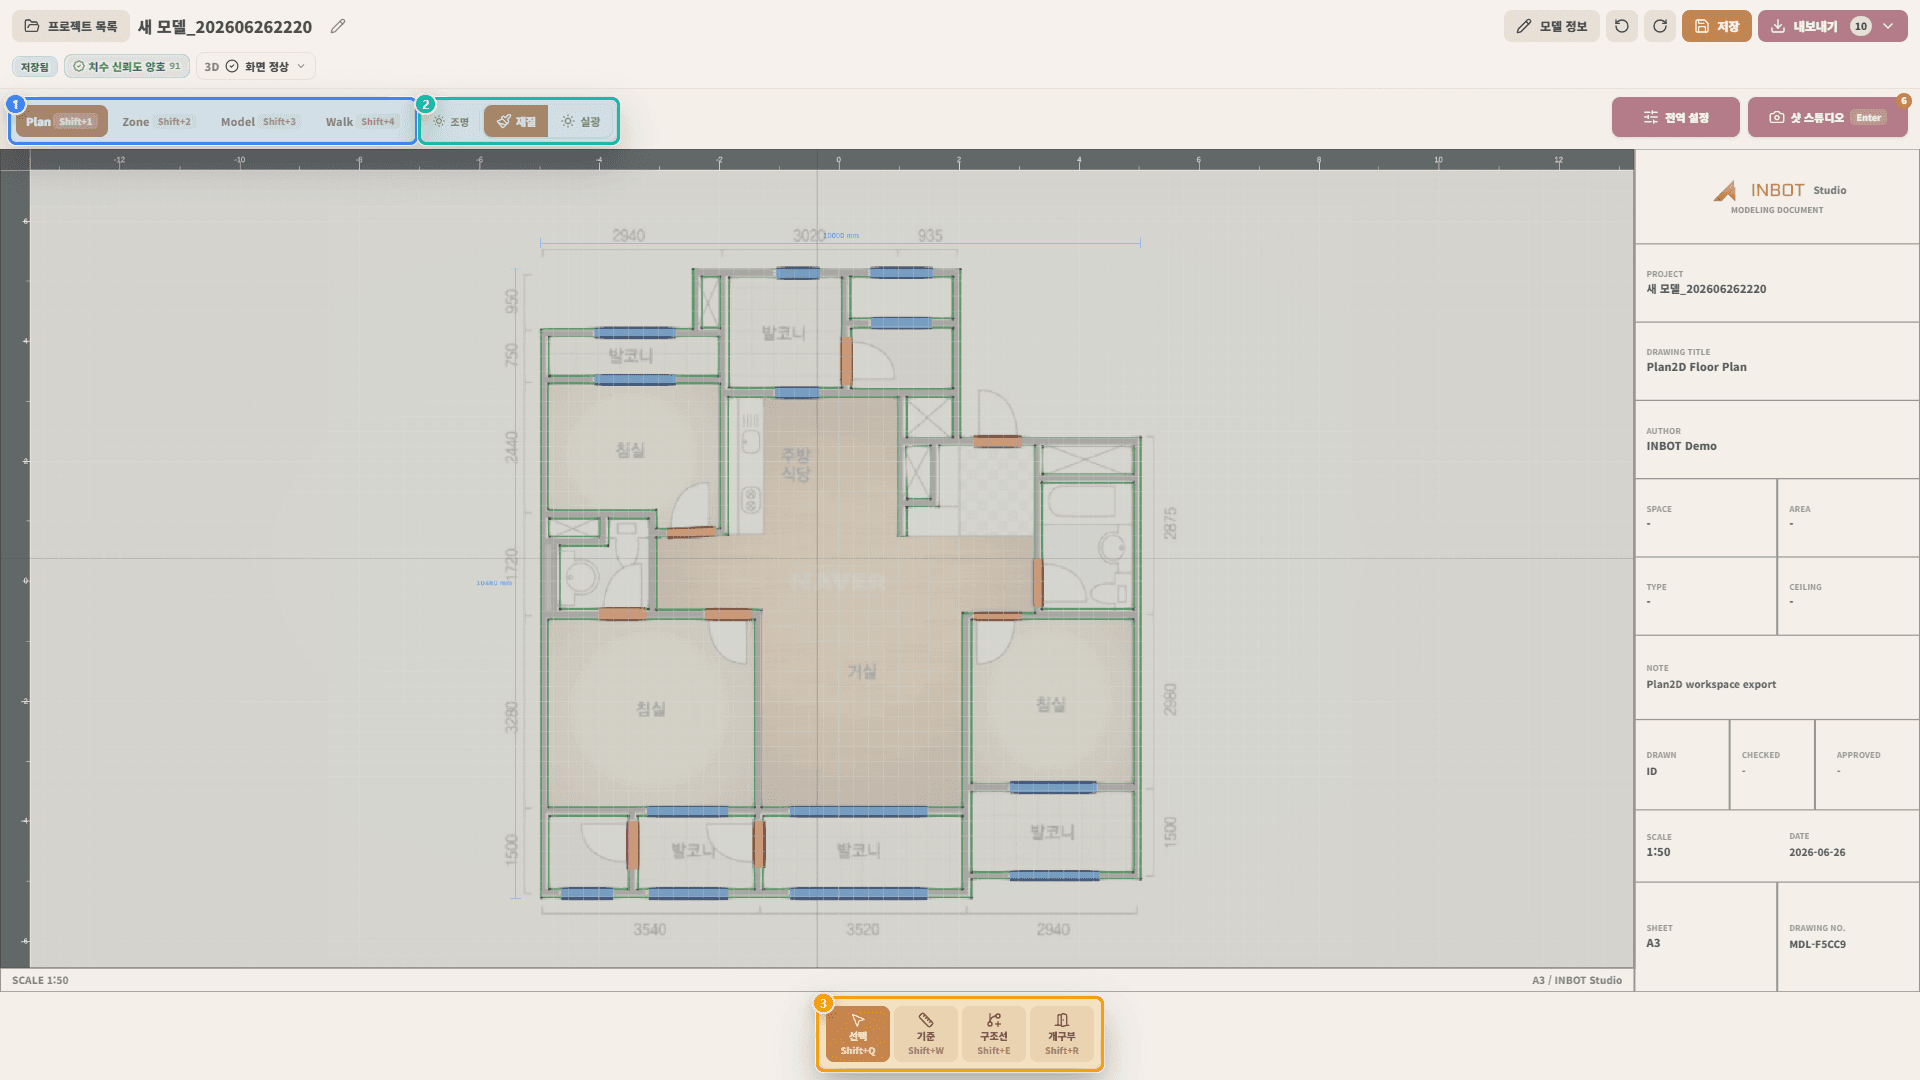
INBOT Studio is useful at this point. When a user uploads a floor plan, AI generates an initial 3D model and reduces the modeling burden on the team. The result can then be reviewed through Plan, Zone, Model, and Walk views. This article explains how to prepare those four views before a meeting and how to use them in conversation.
The Four Views Answer Different Questions
The four views are easier to understand as questions, not feature names. Plan, Zone, Model, and Walk each answer a different question about the same model.
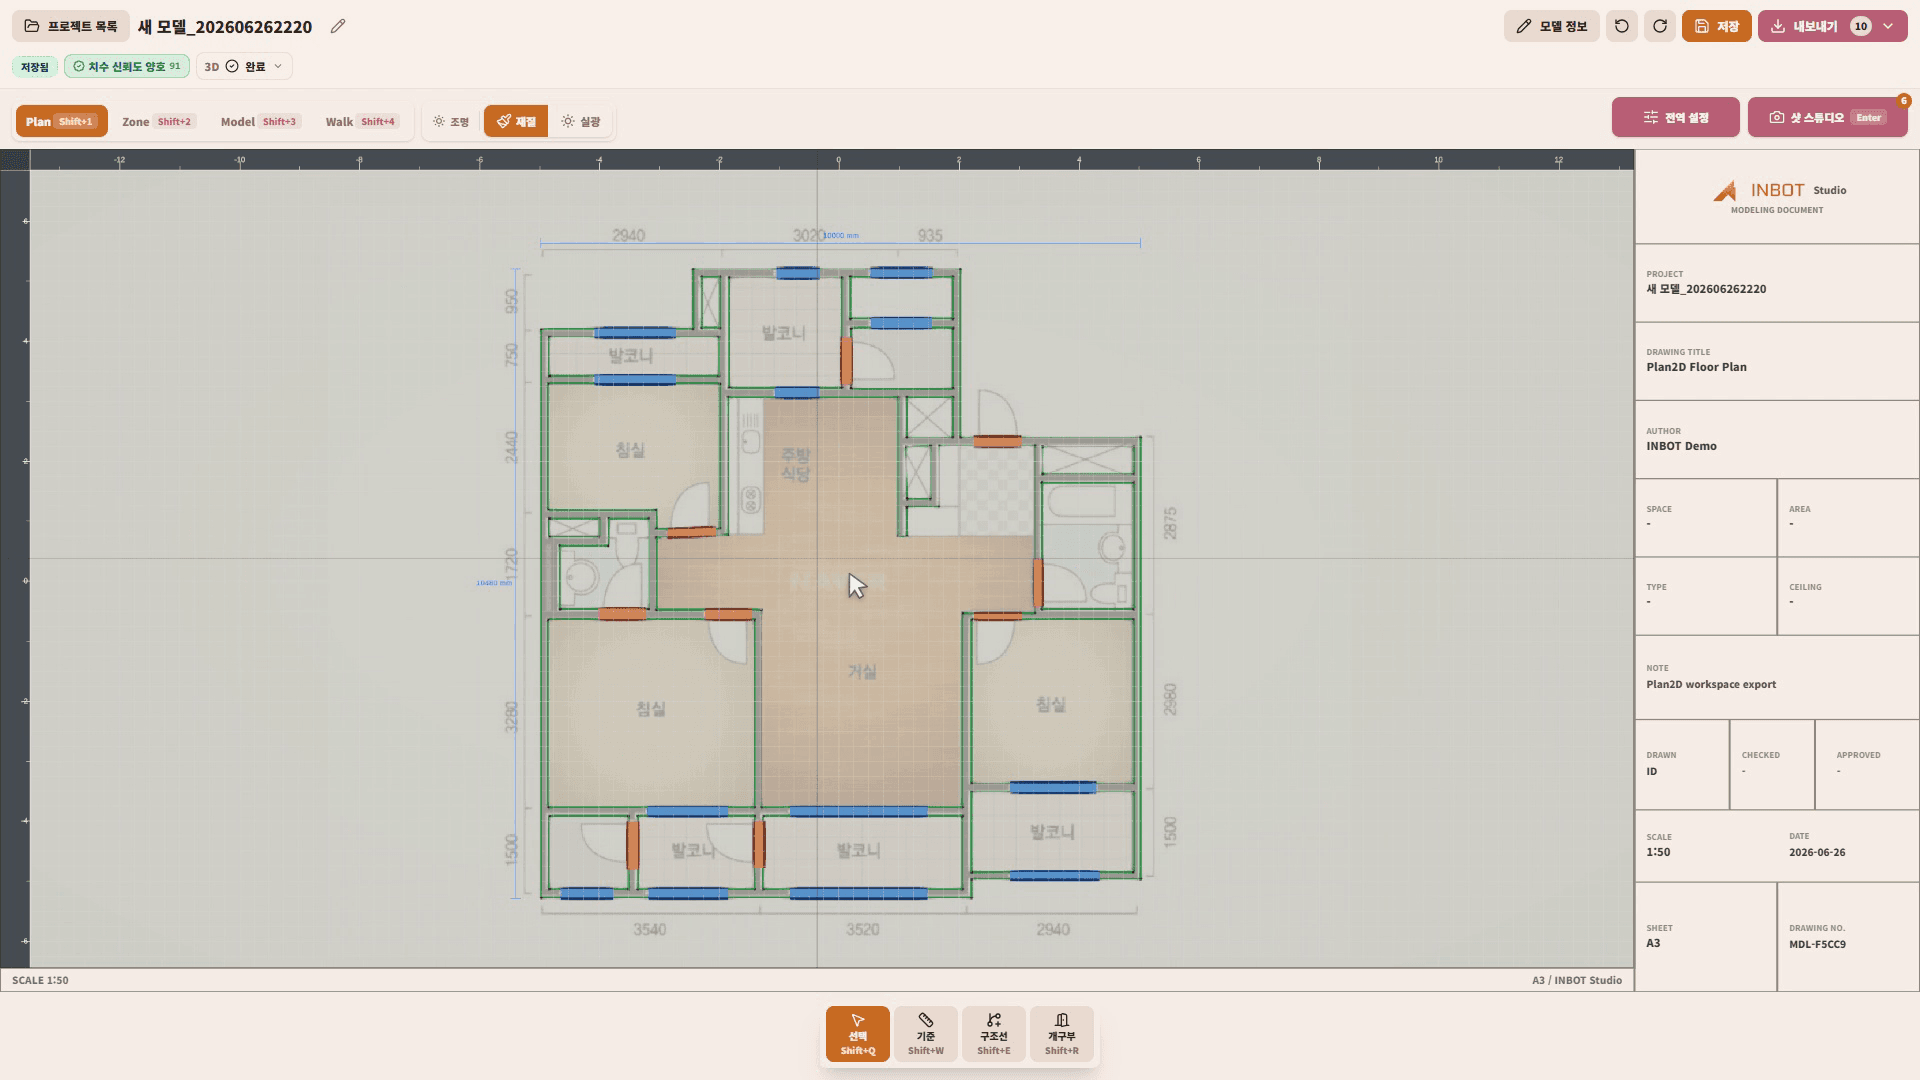
Plan is where the team aligns structure. It helps check walls, rooms, doors, windows, and core dimensions against the plan. At the beginning of a meeting, it is useful for agreeing on whether everyone can discuss the project from the same structural basis.
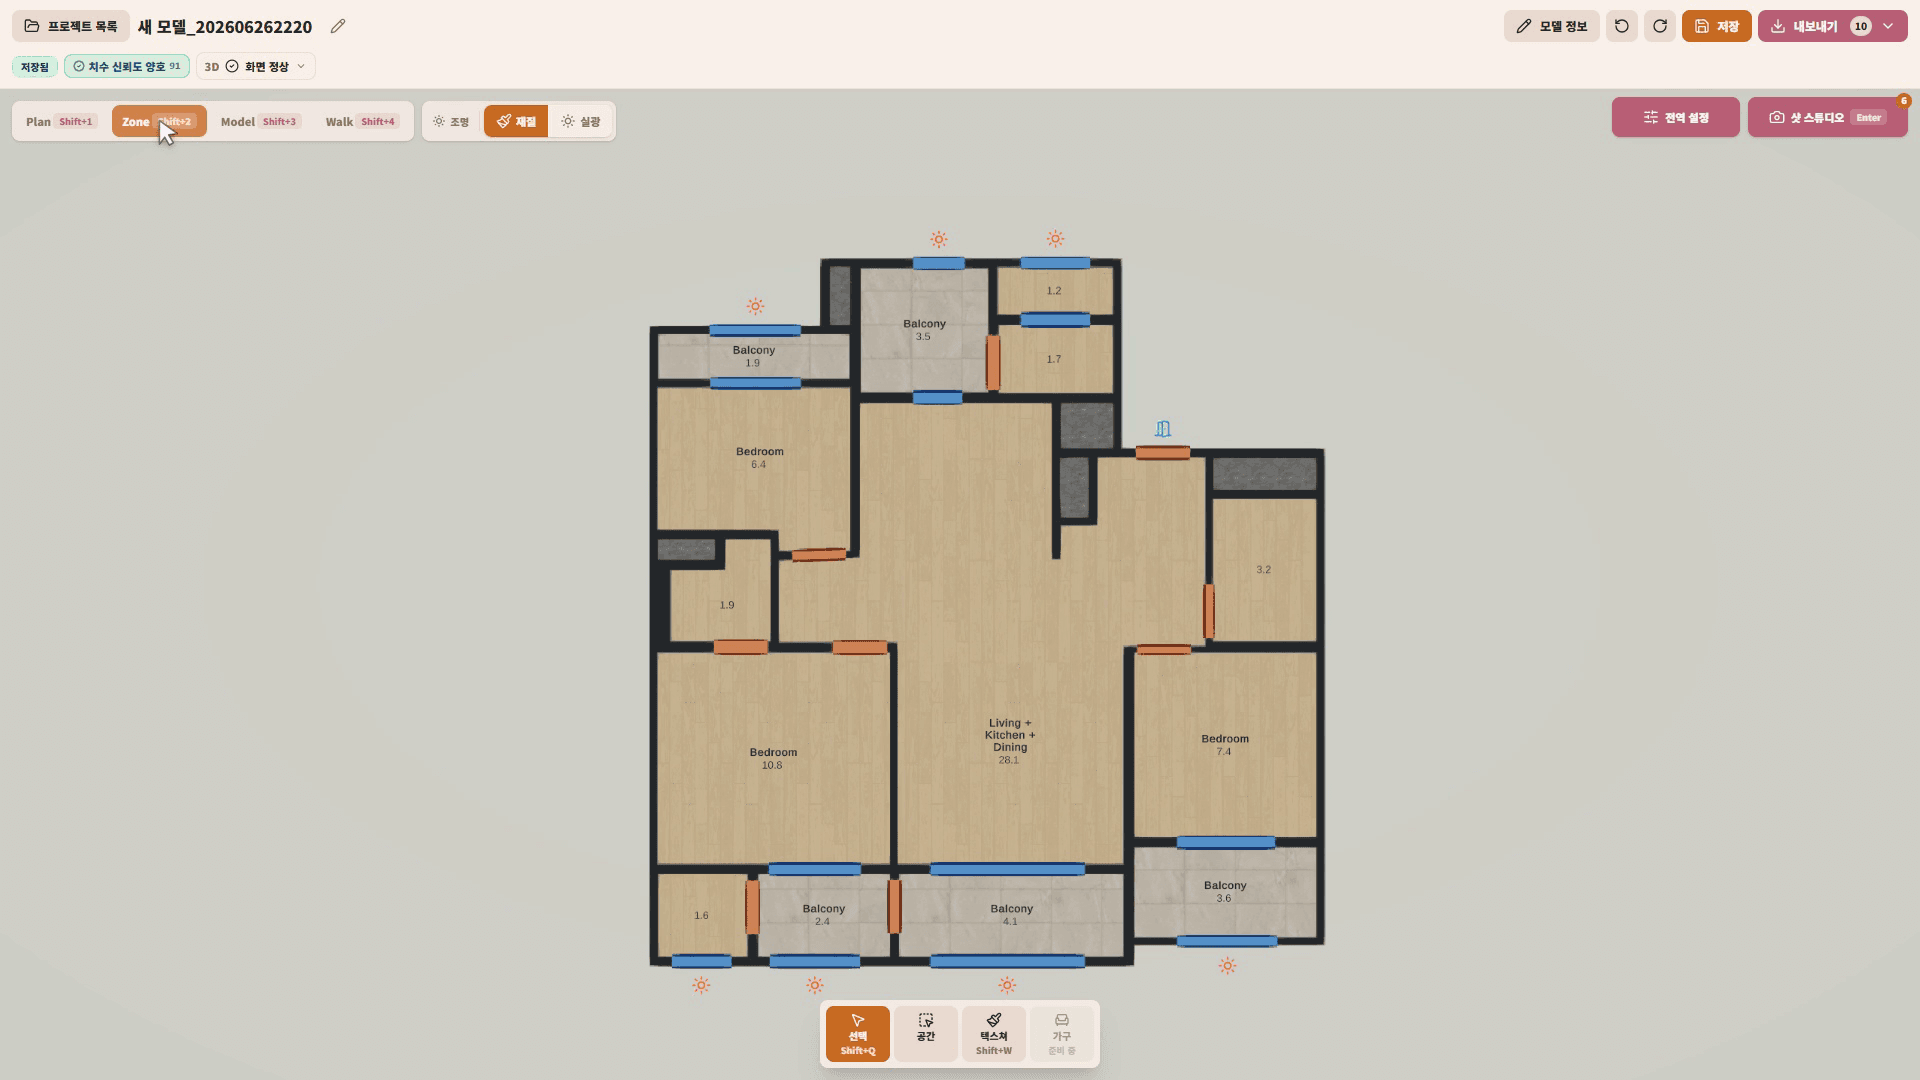
Zone is where the team separates how the space will be used. Living room, kitchen, bedroom, storage, and circulation become easier to discuss in the language of daily life. When zones are marked before the meeting, clients can understand more quickly what each part of the plan is meant to do.
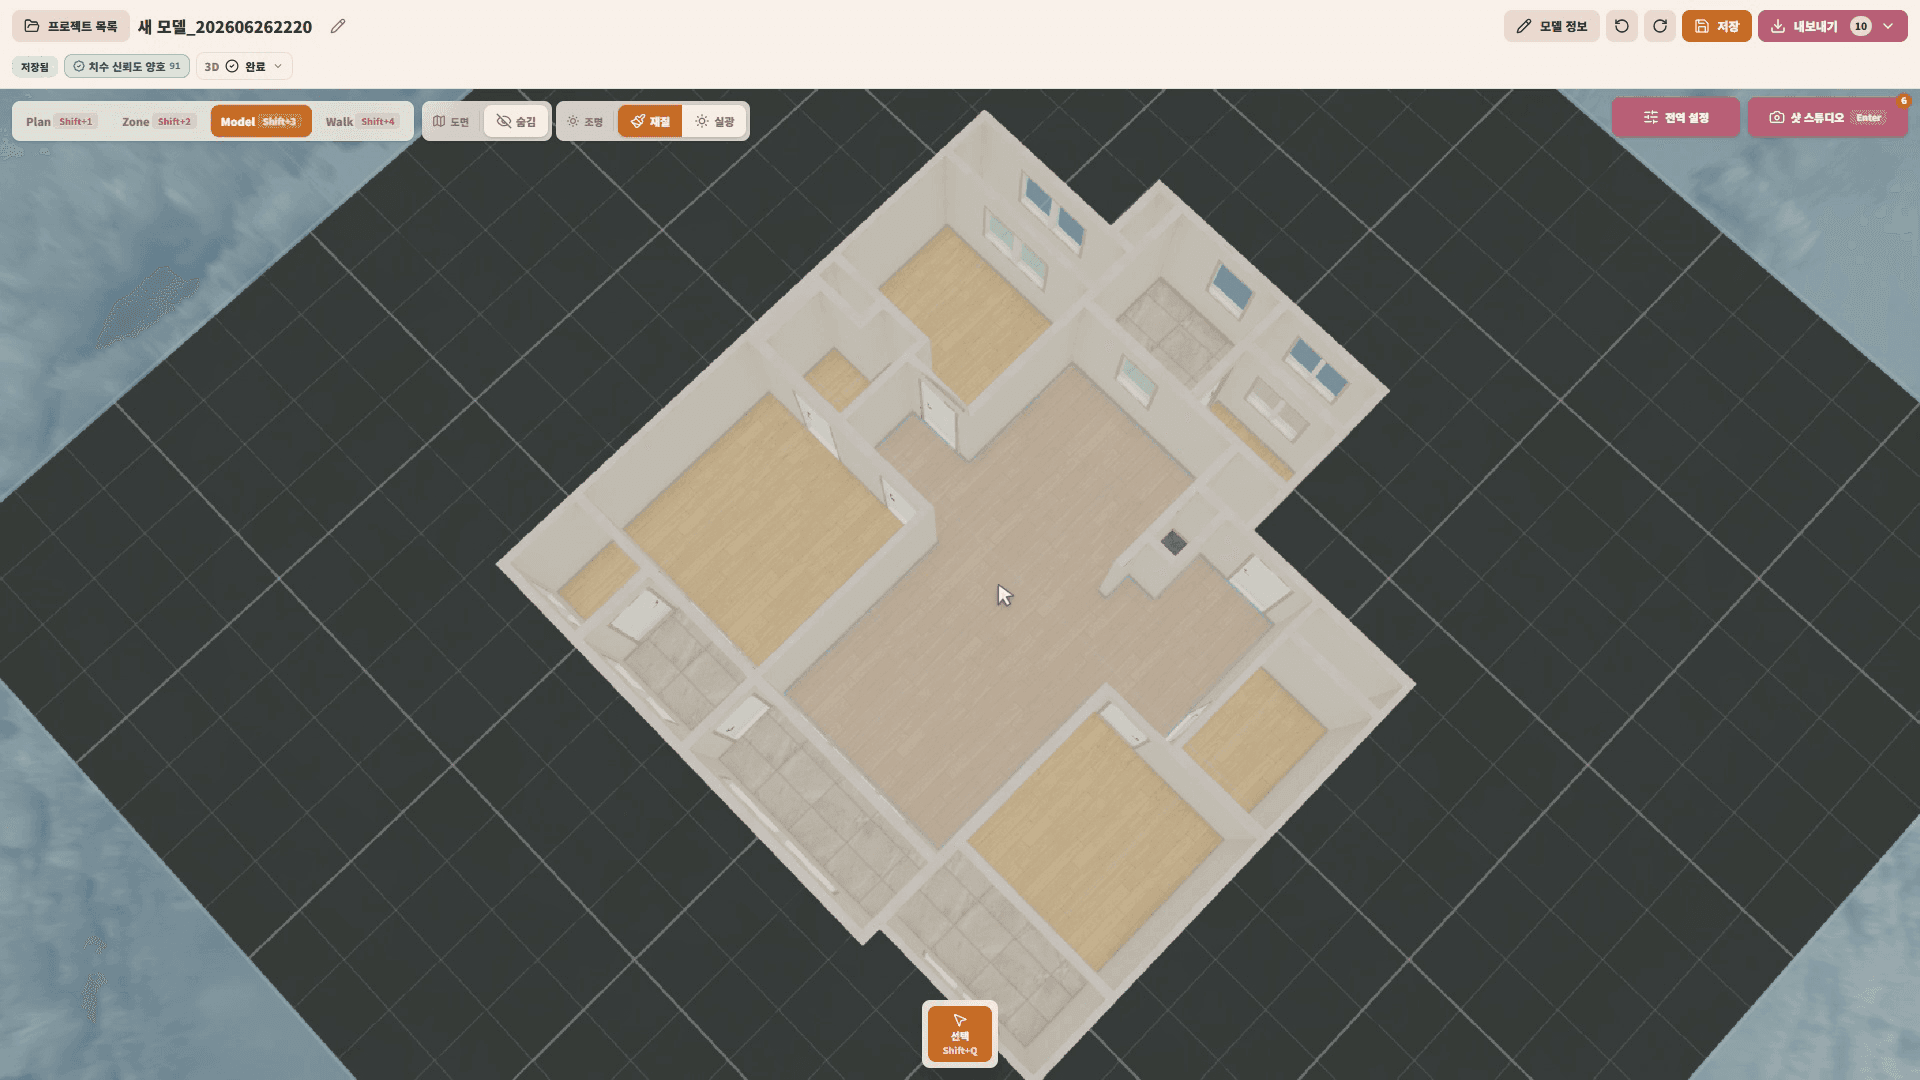
Model is where the team checks volume. It makes height, depth, wall mass, and furniture volume easier to discuss than a flat plan alone. This is the view that supports the parts a reference photo cannot explain by itself.
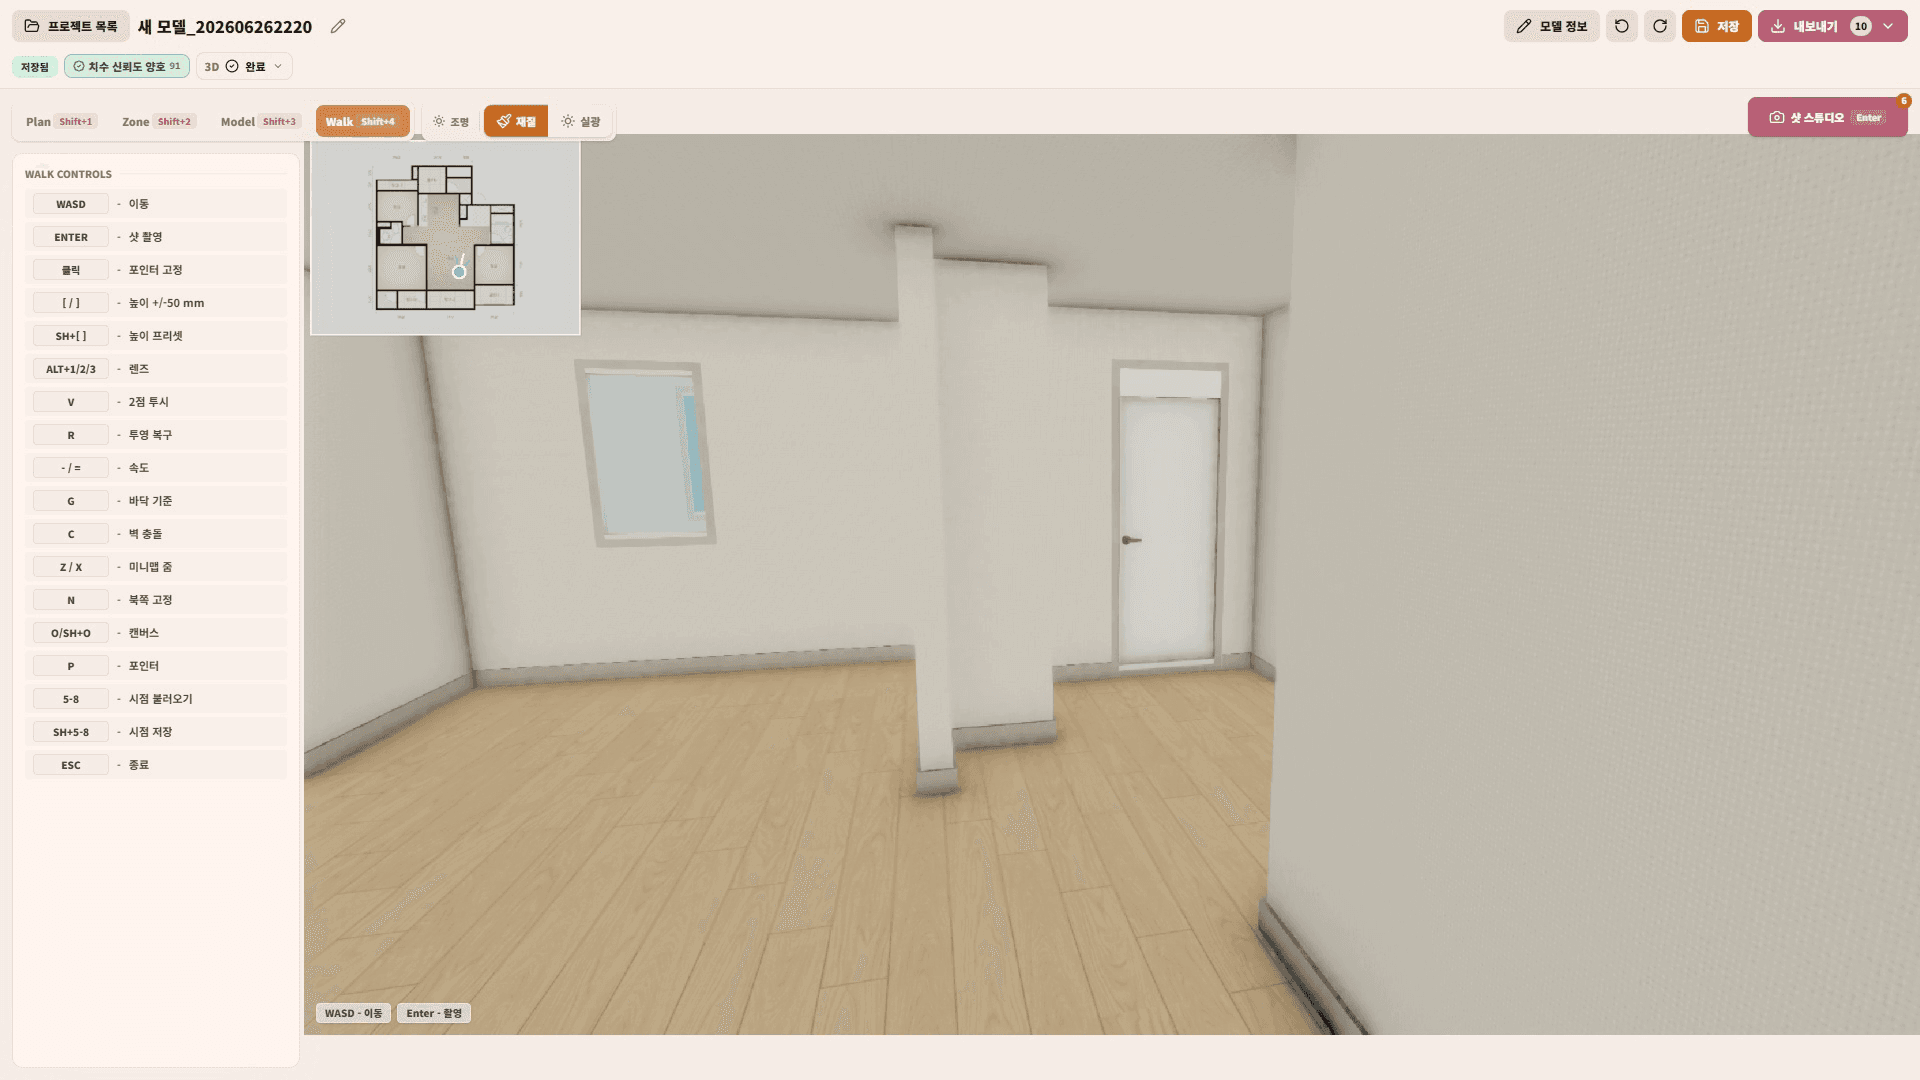
Walk explains the space from the client's point of view. The team can move from the entry to the living room, or look from the kitchen toward the dining area. Even when a client is not comfortable reading plans, they can follow the space as a sequence.
Give Each View One Question Before the Meeting
Using the four views as consultation material does not mean showing every screen. Each view needs one question attached to it. That keeps the meeting from becoming a long product demonstration, and it helps the client understand what they are being asked to decide.
Attach "Is this structure correct?" to Plan. Walls, room names, door positions, and window positions are basic decisions that become expensive to change later.
Attach "Is this how the space will be used?" to Zone. A part of the living room may become a child's play area, a storage-centered zone, or an extension of the dining area.
Attach "Does this height and volume feel right?" to Model. Built-in storage, partition walls, and upper cabinets are easier to judge when the client can see their mass.
Attach "How does it look along this route?" to Walk. When the team shows the screen in the order the client would actually move through the home, the explanation becomes much easier to follow.
Screen Checkpoints Before The Meeting
Separating the frequently used controls into three areas reduces the time spent choosing the right screen for the meeting.
| No. | Area | What To Check Before The Meeting | How To Use It In The Meeting |
|---|---|---|---|
| 1 | Surface tabs | Choose the point of view to show: Plan, Zone, Model, or Walk. | Ask the client one question at a time. |
| 2 | View condition toolbar | Turn plan, furniture, dimensions, and display conditions on or off. | Remove distracting information and leave only the criteria needed for the discussion. |
| 3 | Bottom tool mode bar | Switch selection, movement, and display modes for the consultation scene. | Reduce awkward screen handling while the client is watching. |
The Client Screen and the Internal Review Screen Are Not Always the Same
When preparing consultation material, it helps to separate internal review screens from client-facing screens. The internal screen often needs more information. The client-facing screen usually works better when it shows less.
For example, Plan can show detailed dimensions and wall conditions. But at the first meeting, it is often better to leave only the structure that needs confirmation that day. Zone is similar. Internally, the team may review every room name and area. In the meeting, it is better to show only the zones connected to the client's daily life.
| View | What To Check Internally | What To Show The Client |
|---|---|---|
| Plan | Plan basis, walls, door and window positions | The structure that needs confirmation today |
| Zone | Spatial divisions, room names, area basis | Zones connected to daily life |
| Model | Model errors, height, volume | Spatial feeling that a flat plan cannot explain |
| Walk | Route and sightline flow | Scenes the client will actually experience |
With this separation, the team can show INBOT Studio screens without making the meeting feel like a software demo. The screen is not the main character. It is supporting material that helps the client understand the decision in front of them.
What It Means To Use INBOT Studio For Consultation Material
Using INBOT Studio for consultation material does not mean turning every meeting into a 3D presentation. It is closer to the opposite. The team uploads a floor plan, uses the AI-generated initial 3D model as a basis, and chooses only the screens worth showing.
Plan aligns the structure. Zone separates use. Model checks volume. Walk explains the space from the client's eye level. When that order is clear, the meeting becomes a process for judging the space, not an introduction to features. Clients can say more than "it looks good," and the team can find the points that need another design or estimate check more quickly.
INBOT Studio