How the three views differ
After creating a 3D model from a floor plan, review the same model in `Plan`, `Model`, and `Walk`. `Plan` shows the flat structure, `Model` shows the 3D structure, and `Walk` shows the eye-level spatial feel.
| View | What to check | When to use it |
|---|---|---|
| `Plan` | Room boundaries, wall lines, door and window positions | When matching the generated structure against the drawing |
| `Model` | Wall height, room connections, 3D proportions | When checking whether the model reads naturally in 3D |
| `Walk` | Movement view, spatial feel, eye level | When checking how the space feels from inside |
Start with `Plan` to check the structure, move to `Model` to review the 3D shape, and use `Walk` to check the model from eye level.
Switch views
The `Plan`, `Model`, and `Walk` buttons are in the upper-left area of the modeling screen. Select a button to switch the current model view.
| Shortcut | View |
|---|---|
| `Shift+1` | `Plan` |
| `Shift+2` | `Model` |
| `Shift+3` | `Walk` |
Shortcuts may not run when an input, select menu, or editable area has focus. The view buttons may be disabled before the modeling screen is ready.
Check structure and drawing alignment in Plan
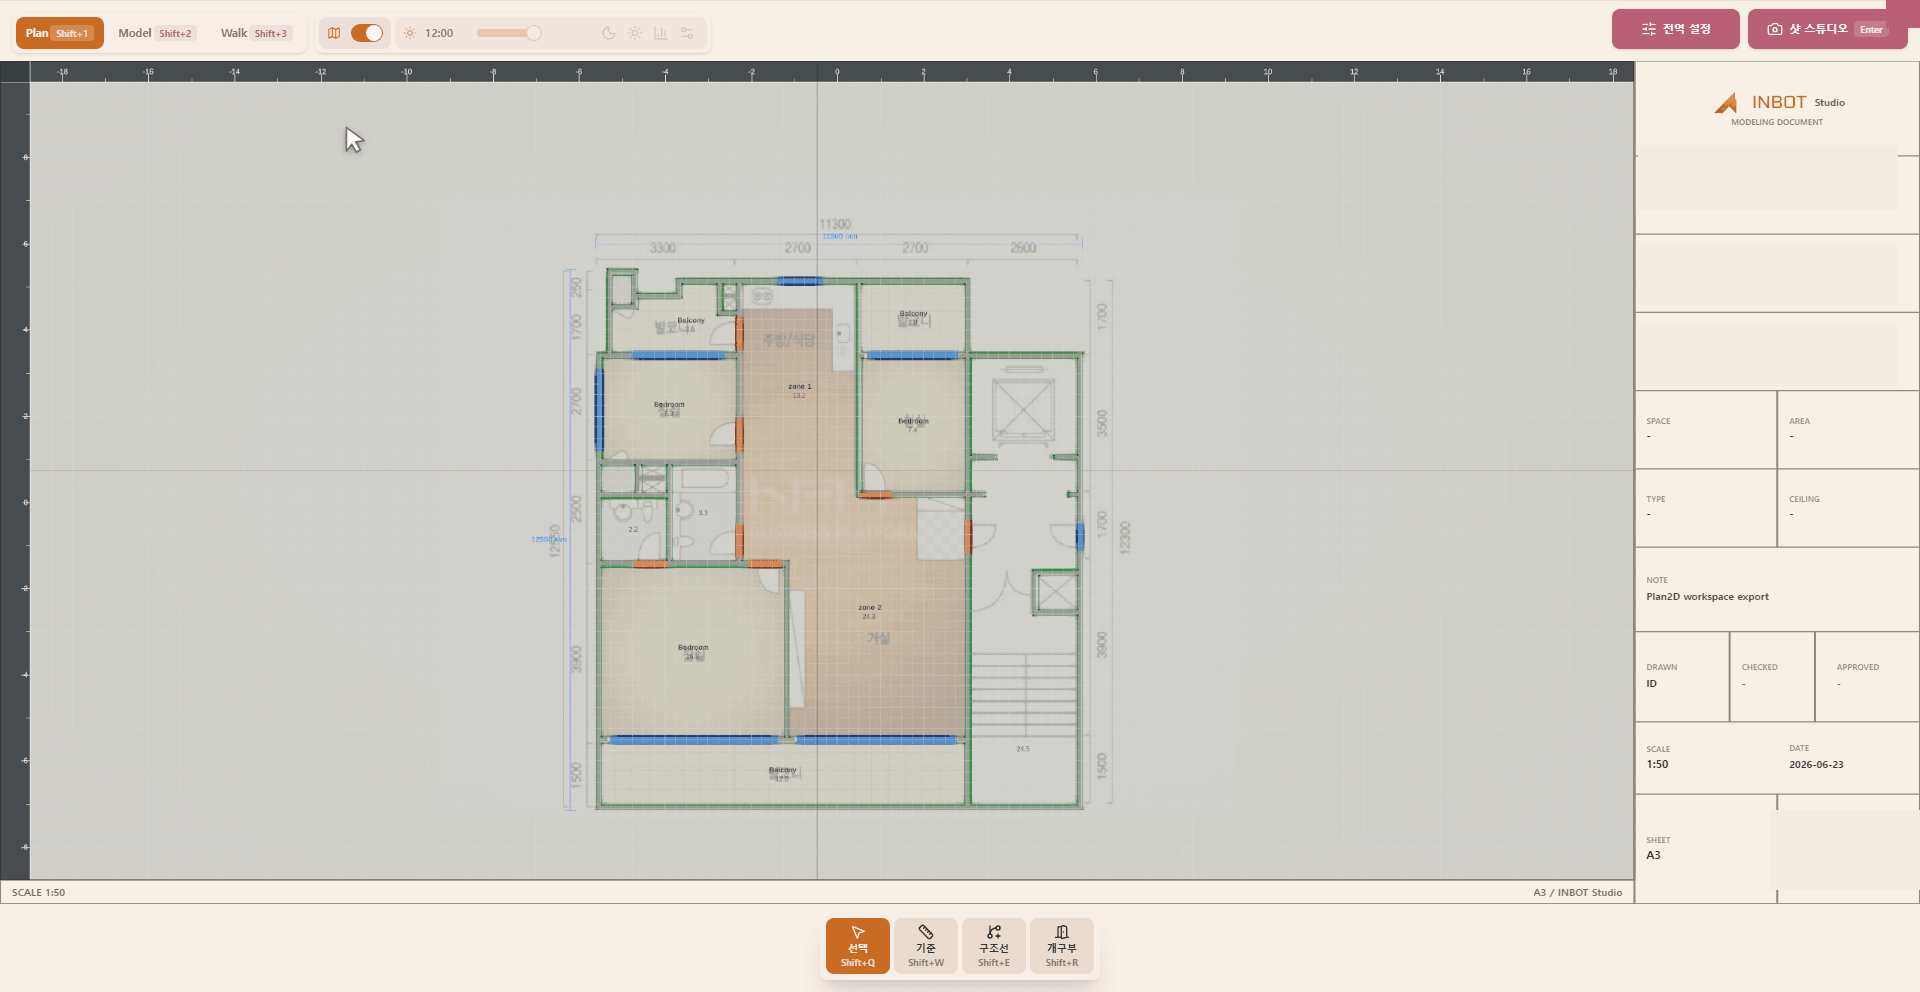
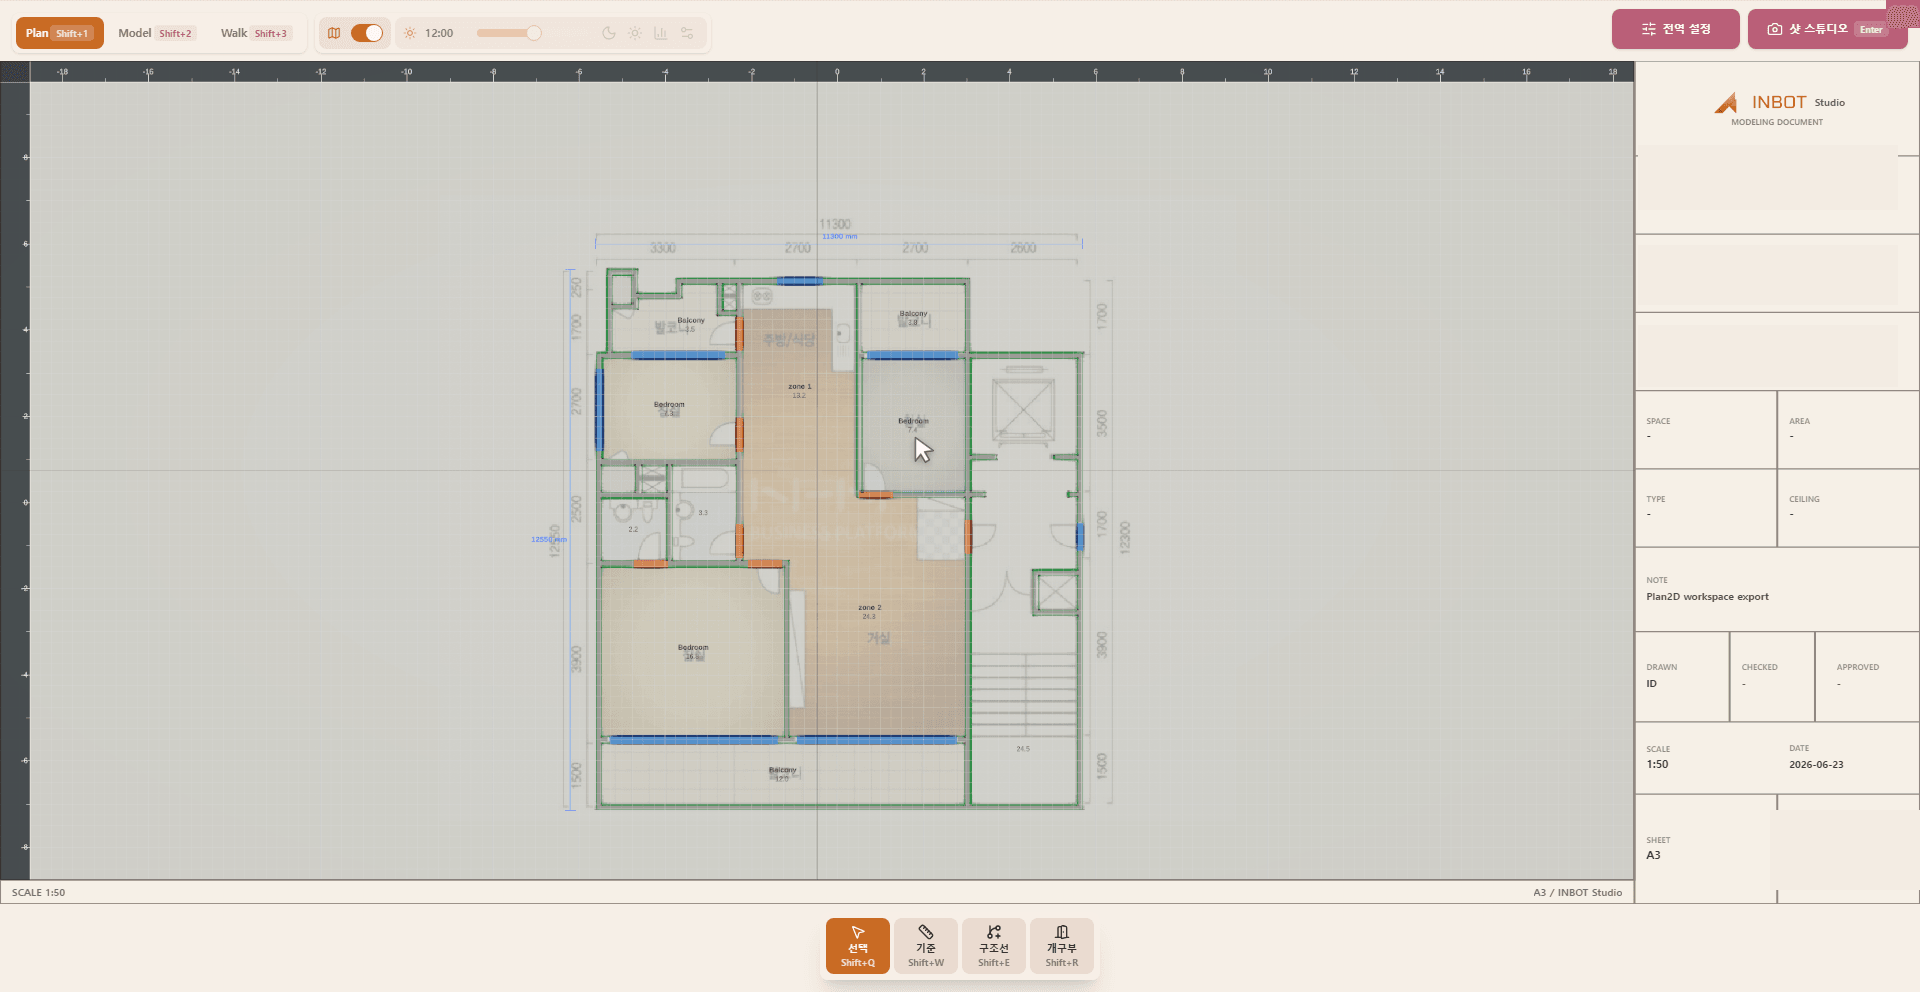
`Plan` shows the model from a floor-plan perspective. Use it to check whether room boundaries are closed, wall lines are continuous, and doors and windows match the drawing.
Use the `Plan` toggle in the top controls to show or hide the drawing reference. Turn it on to compare the generated structure with the original drawing, and turn it off to read the model structure more clearly.
Check the 3D structure in Model
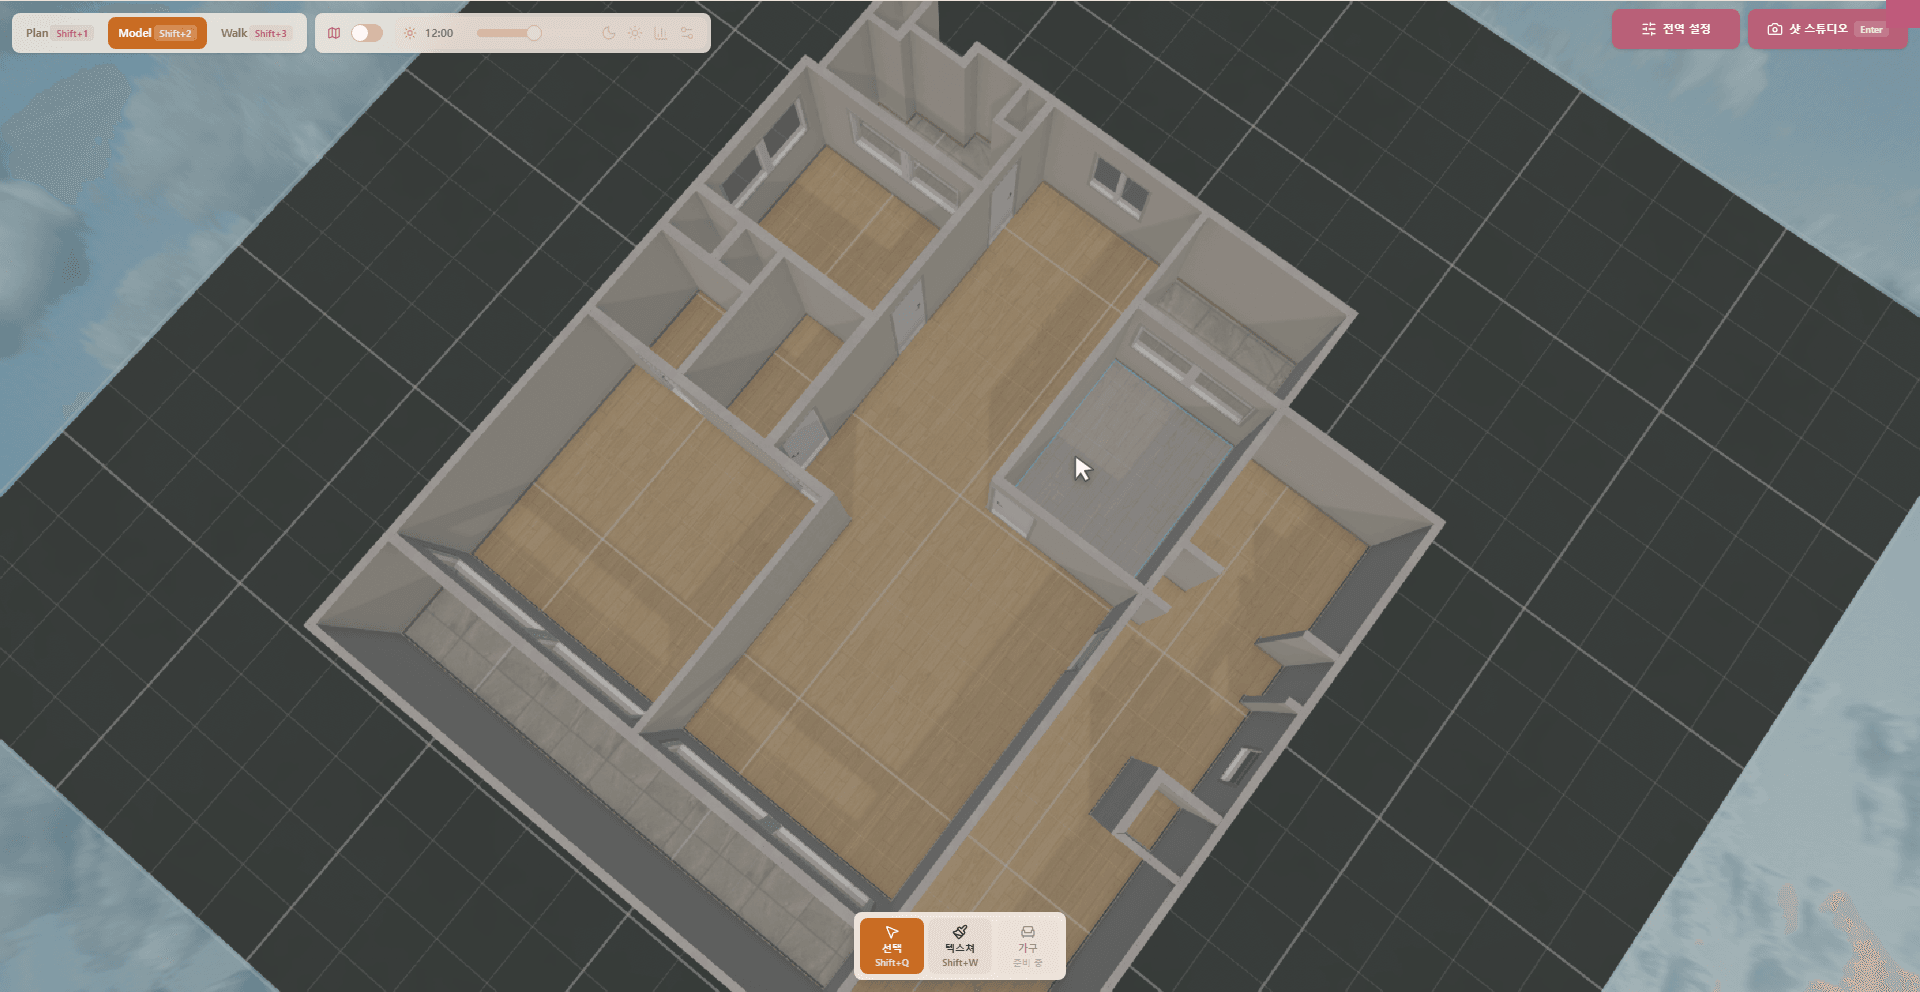
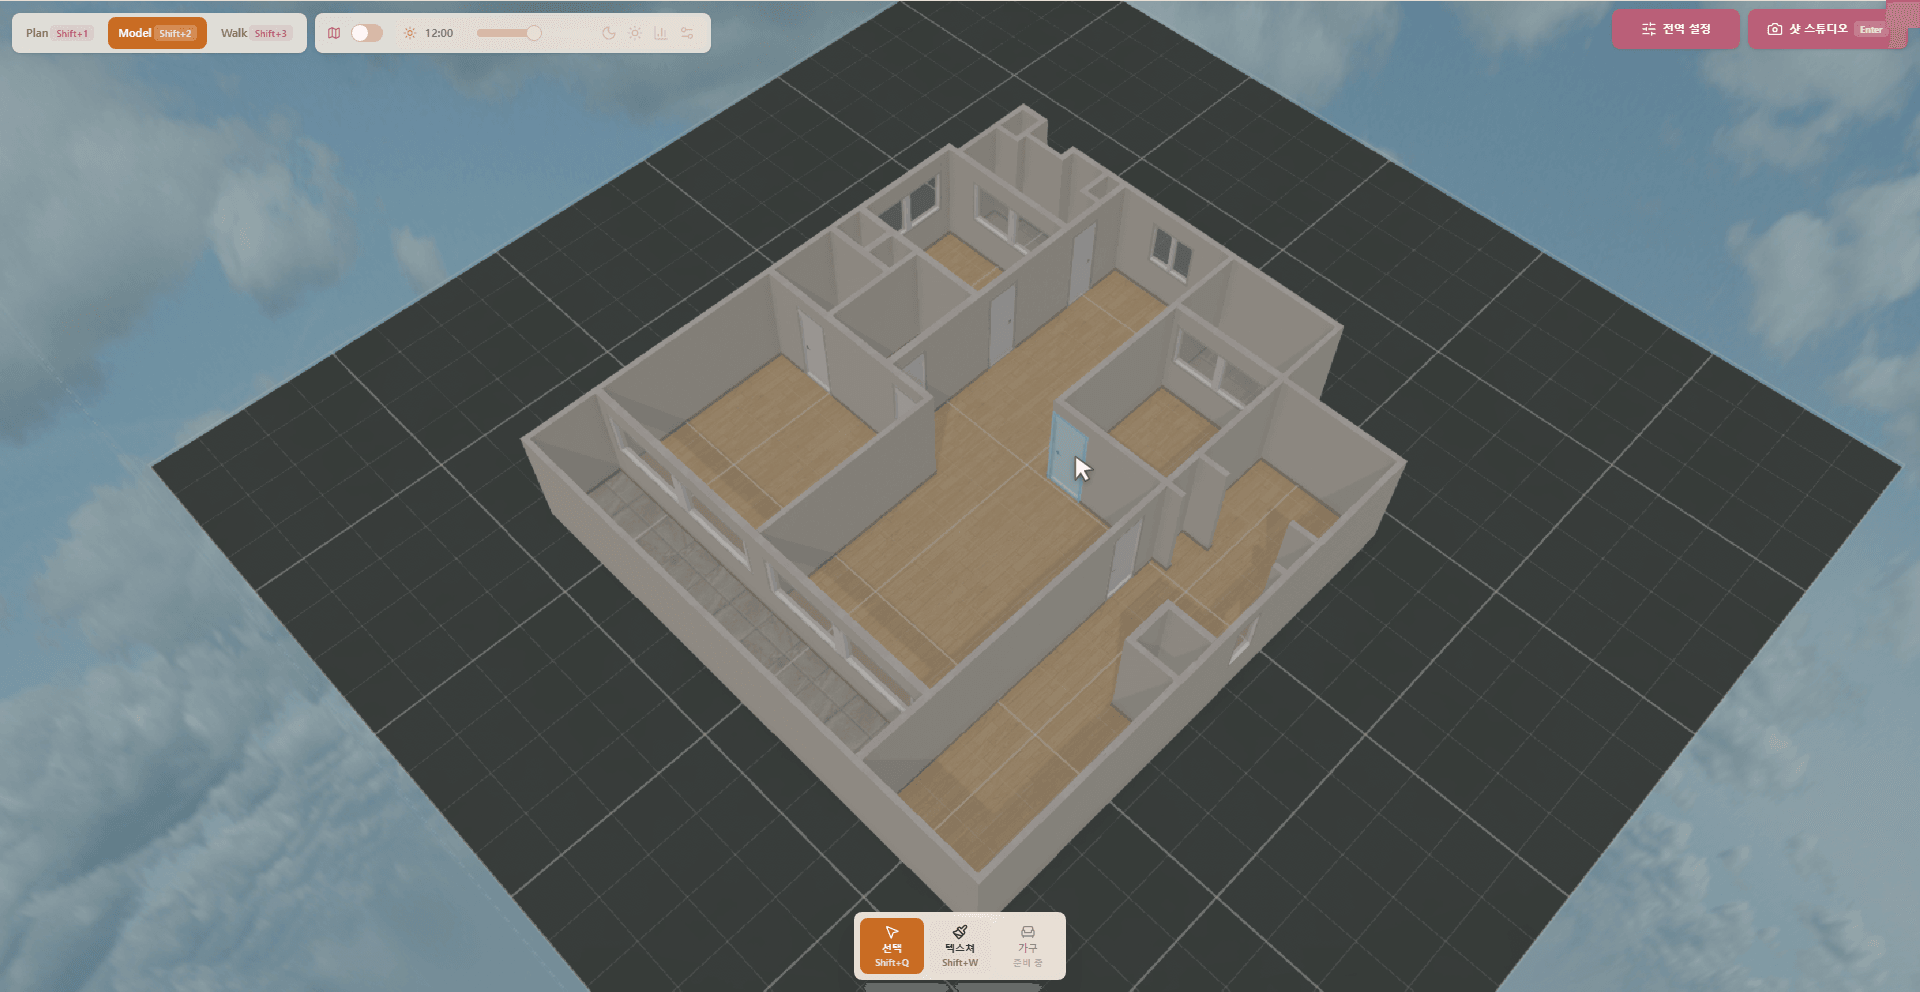
`Model` shows the generated structure in 3D. Walls, doors, and windows that look correct in `Plan` can feel different once height and depth are visible.
Use the mouse wheel to zoom in and out. Right-drag to change the camera direction, then review the structure from above or from the side.
Check from eye level in Walk
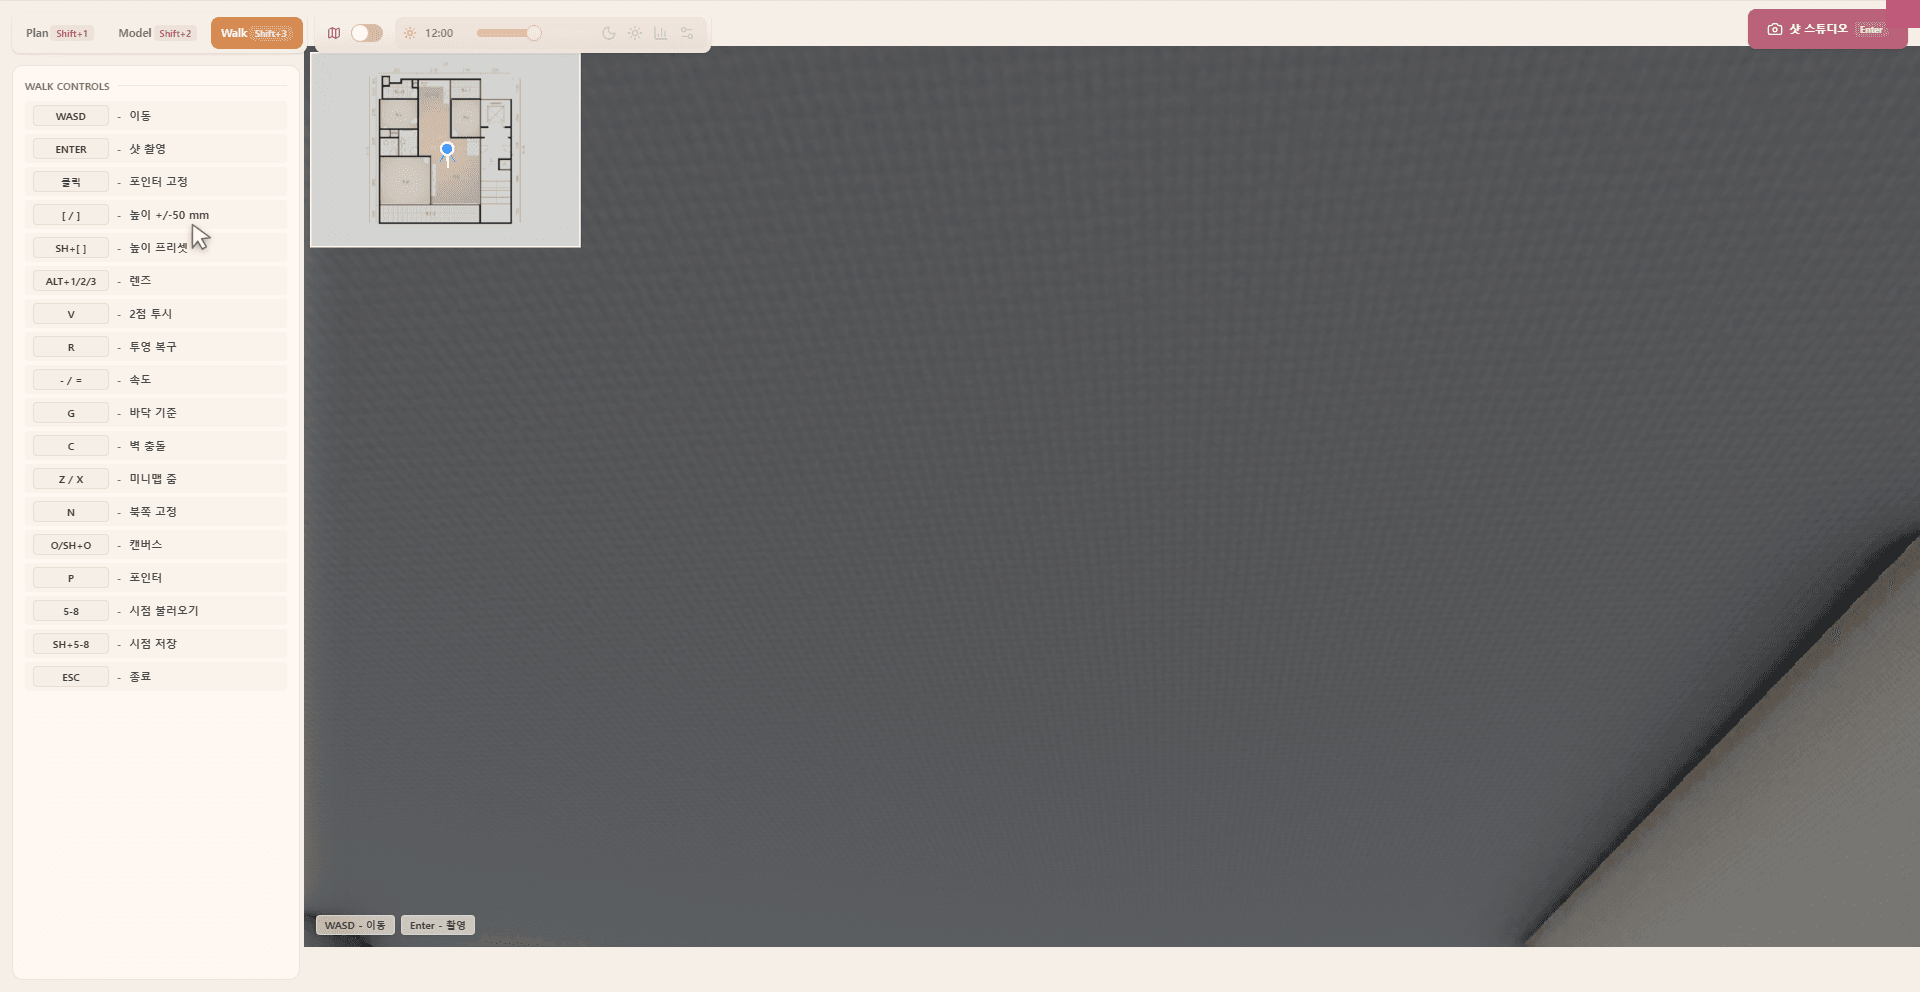
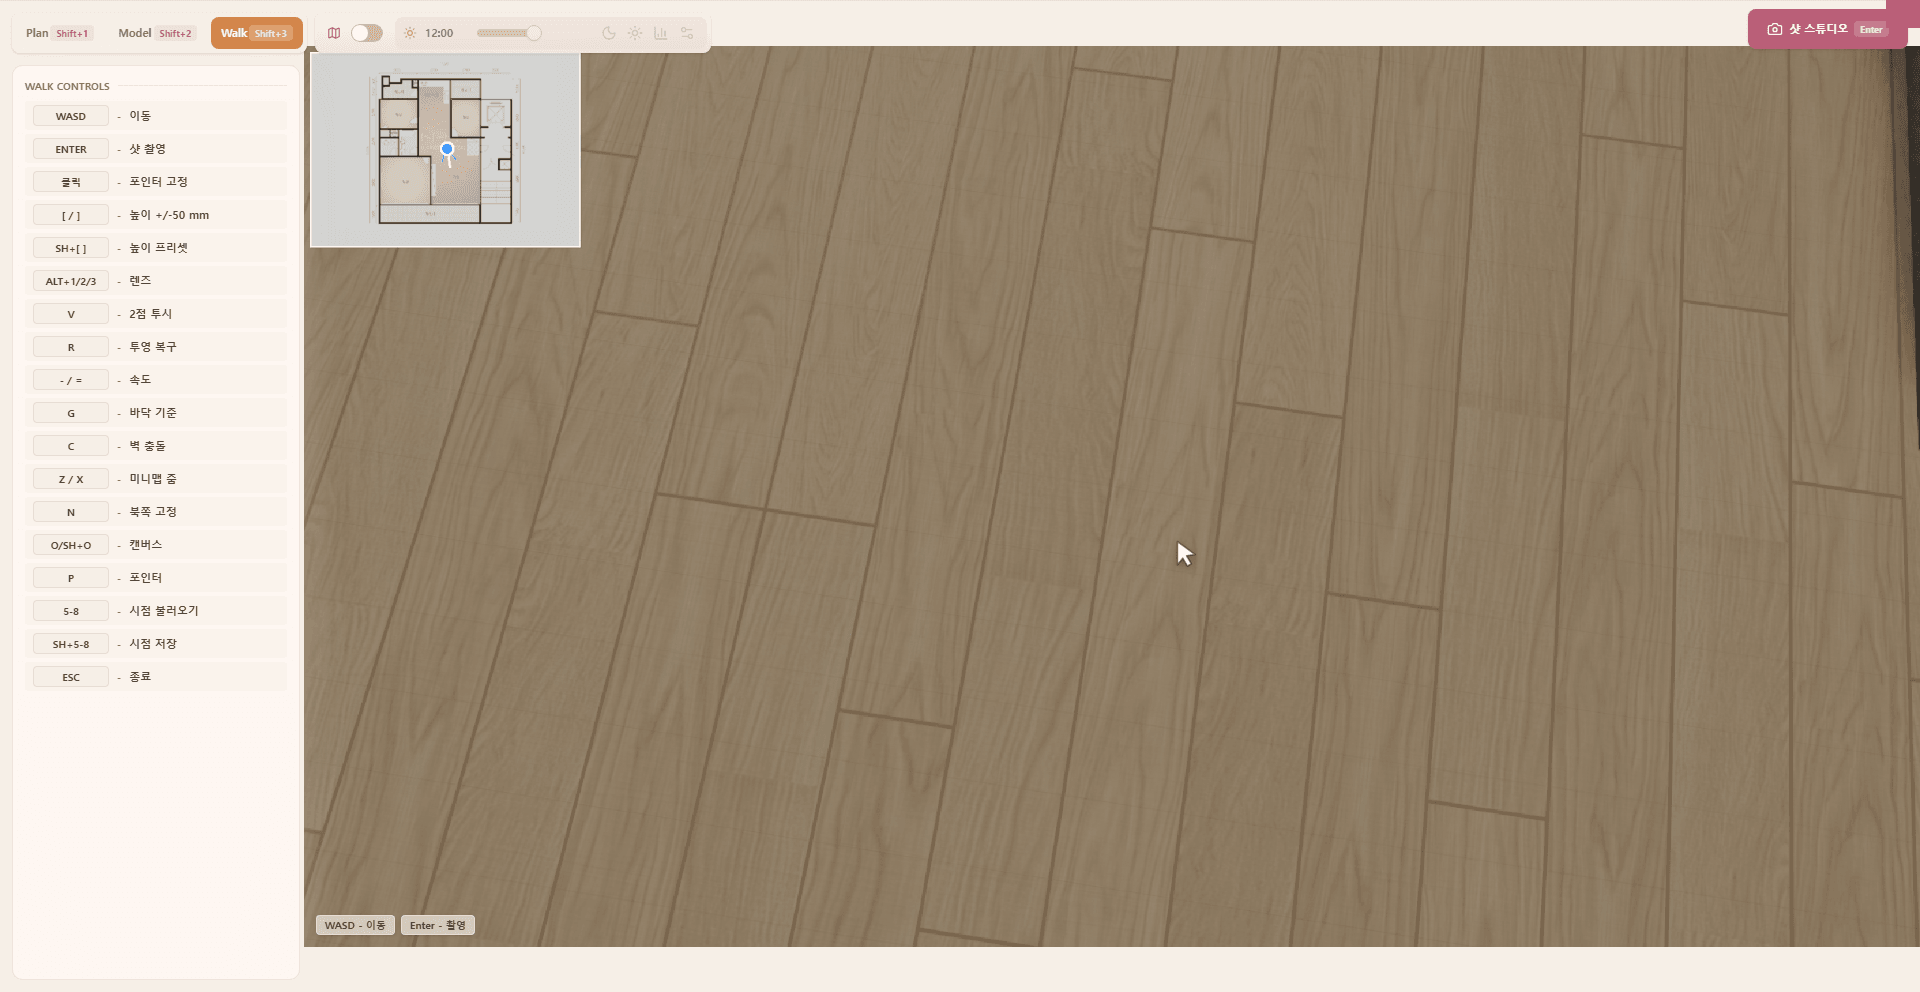
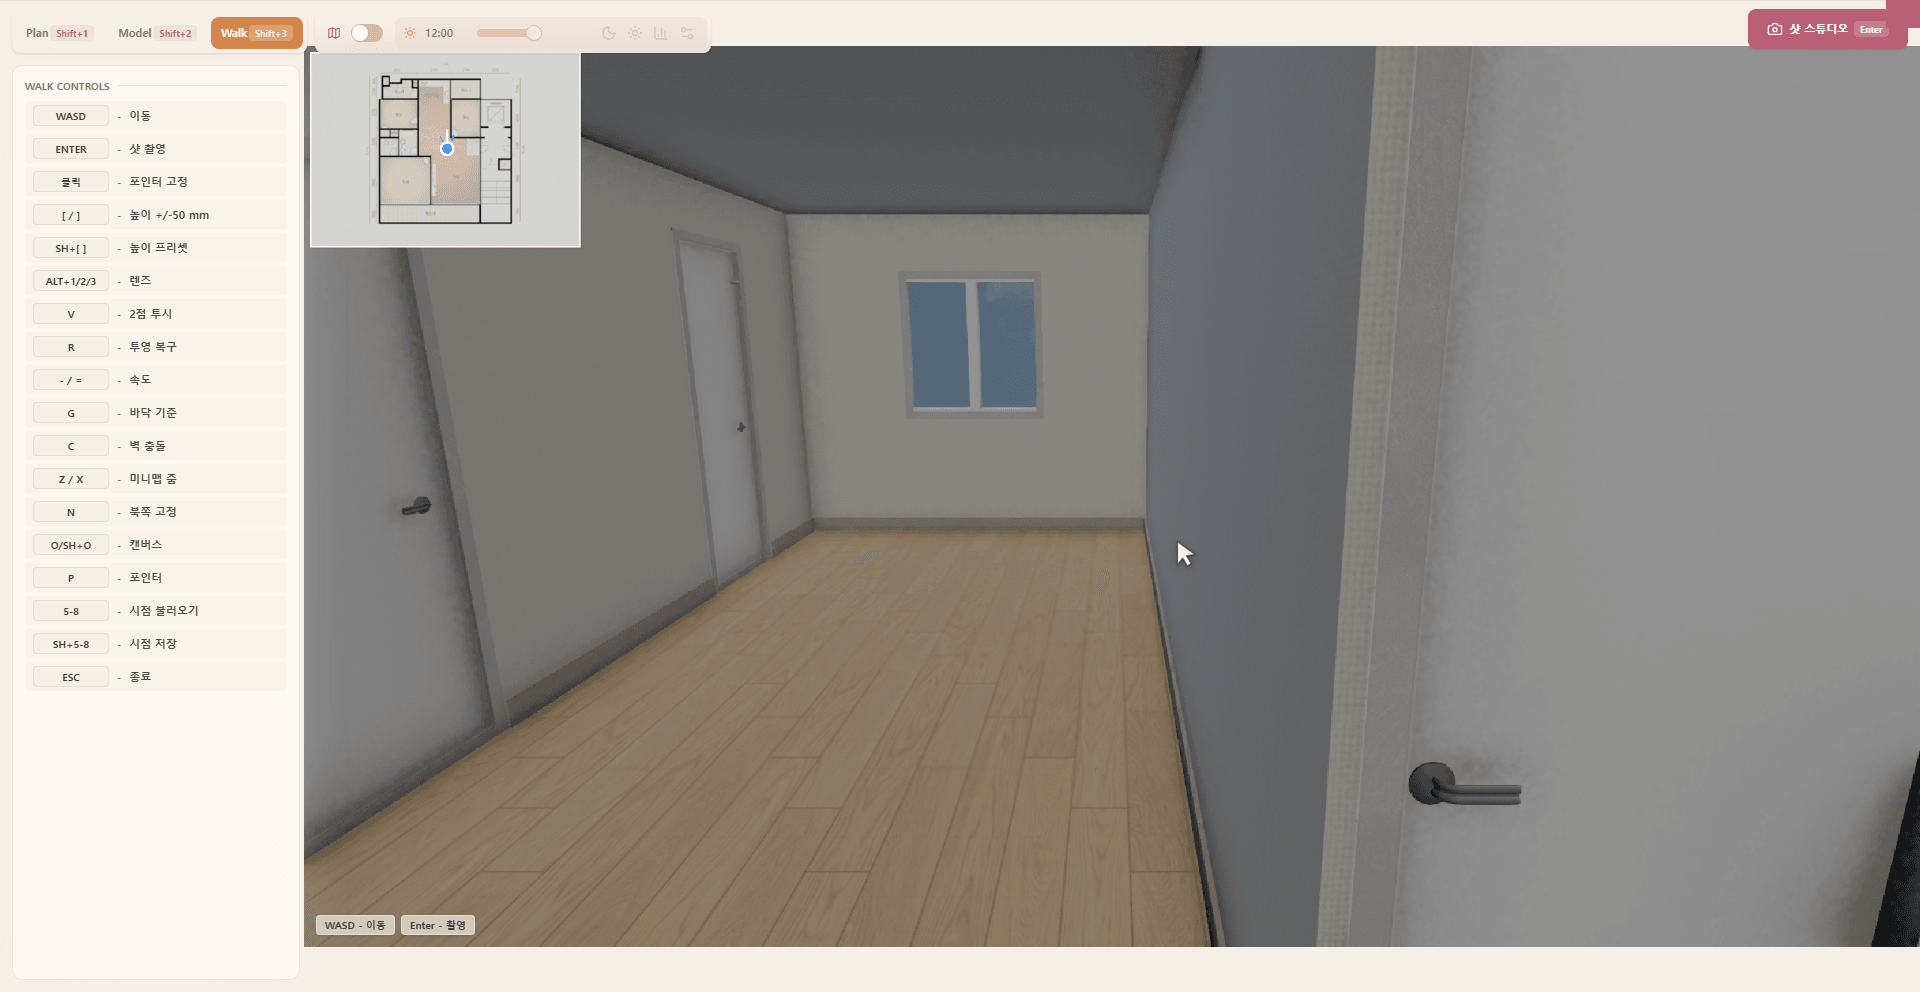
`Walk` shows the space from inside the model. Use it to check the feeling between rooms and corridors, window height, door position, and movement sightlines.
When `Walk` opens, the viewport shows `WASD - Move` and `Enter - Capture` hints. Eye-height adjustment, lens switching, perspective settings, and saved viewpoints are covered in the next Walk document.
Basic viewport controls
| Control | Applies to | Result |
|---|---|---|
| `Plan`, `Model`, `Walk` buttons | Upper-left tabs | Switch views |
| `Shift+1/2/3` | Keyboard | Quickly switch between Plan, Model, and Walk |
| Mouse wheel | Modeling screen | Zoom in and out |
| Right-drag | Mainly `Model` | Change the camera direction |
| `Plan` toggle | Mainly `Plan` | Show or hide the drawing reference |
| `WASD` | `Walk` | Move |
| `Enter` | `Walk` | Enter the capture flow |
What to read next
For more detail in `Walk`, read `Walk View Movement and Viewpoint Review`. To check structure, scale, and dimensions, continue to `Checking Walls, Rooms, Scale, and Dimensions`.
To continue into image work, read `Capturing Model Shots and Walk Shots` and `Generating a Render from a Selected Shot`. To keep working in practical tools, read `Exporting to SketchUp/CAD and Other Tools`.